Magnific AI Review: The Tool That Makes Blurry AI Images Look Real
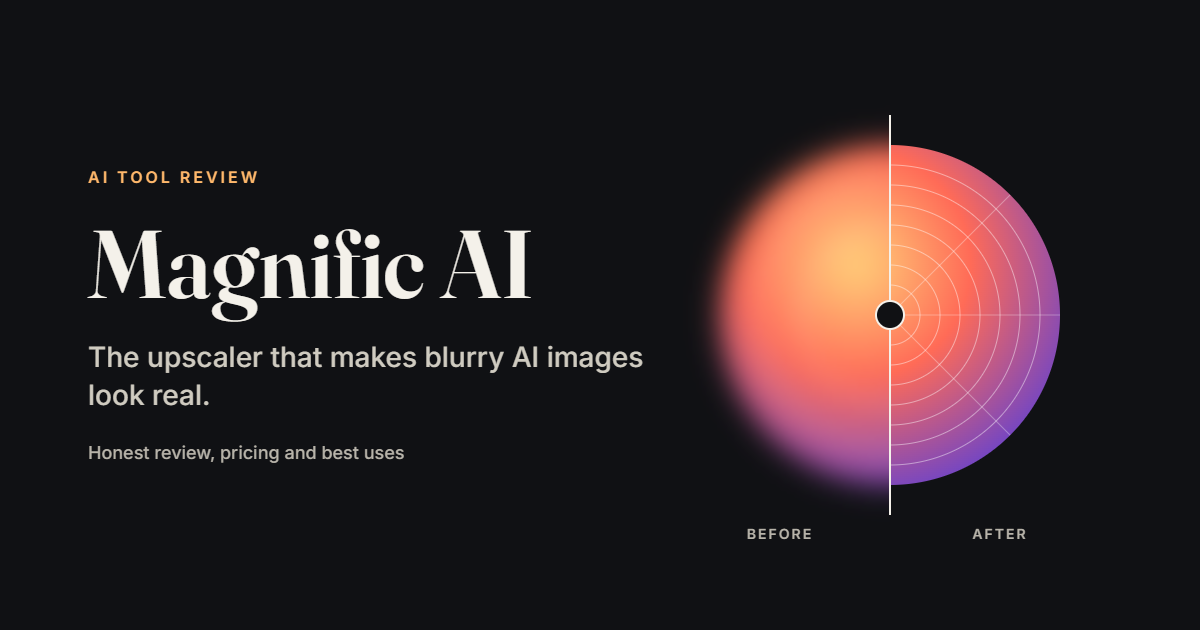
I’ll clear up one thing first, because a lot of people get it wrong. Magnific isn’t really an AI image generator. You don’t type a prompt and get a picture from scratch. It’s an upscaler and enhancer. You hand it an image you already have, and it makes it bigger and sharper. That’s where its reputation comes from.
If you’ve ever made something in Midjourney that looked great on screen and then fell apart when you zoomed in, this tool is for you.
So what does it actually do?
Normal upscalers just stretch pixels, and the result looks soft and waxy. Magnific does something different. Where other tools try to recover likely detail, Magnific invents it, hallucinating pores, threads, foliage and surface grain. Sometimes that looks stunning. Sometimes it rewrites your picture completely, and that depends on how far you push it.
You control this with a “creativity” slider. Keep it low and the image stays close to the original. Push it high and the tool starts making its own decisions. Some people love that and some hate it, so I’d say try it on a test image before you commit anything important.
A quick bit of history
Magnific was built by two Spanish founders, Javi Lopez and Emilio Nicolas, and was founded in 2023 and acquired by Freepik in May 2024. Since then things have moved around a lot. According to one 2026 roundup, its billing, credits and AI tools now run through the Freepik account system. Another source says Freepik itself rebranded as Magnific in 2026, and a third says the old Freepik-era docs now redirect to magnific.com. The naming is confusing, I know. If you’re searching for the tool, expect to land on either site.
Where it works best
From what I’ve seen and read, it shines in a few places:
- AI art from Midjourney or similar tools that looks flat or smooth
- Illustrations and game assets
- 3D renders and architecture visuals
- Old, low-resolution photos you want to rescue
It’s weaker when you need faithful results. If you’re working with a logo, a product photo, or a screenshot with text, the invented detail can change things you didn’t want changed. For that, one comparison notes the Precision mode preserves text, logos and UI pixels faithfully, while Creative mode is the one that gets artistic with it. Pick the mode based on whether changed pixels would be a problem for you.
How big can you go?
Marketing says up to 16x. In real use, one reviewer puts the practical limit closer to 8x. Honestly, you rarely need more than 4x for most work. Past a certain point you’re just asking the AI to imagine things.
What does it cost?
This is the part that stings a bit. Magnific isn’t cheap. Access through Freepik has been tied to the Premium+ plan at $39 per month, and one review lists the cost at roughly $0.05 to $0.20 per upscale, depending on size and settings. Prices change often, so check the current page before you subscribe. If you only upscale a few images a month, the subscription is hard to justify.
A few tips if you try it
- Start with the creativity slider low, then raise it slowly.
- Use the prompt box. A short note like “fine painterly texture” can steer the result.
- Don’t upscale to the maximum just because you can.
- Always compare against the original. Zoom in and look at faces and hands first, since that’s where weird surprises hide.
The honest verdict
Magnific is the best option I know of for adding believable detail to AI art. It’s also pricey, a bit unpredictable, and not what you want for anything that has to stay exact. If your work is creative, it’s worth a month’s trial. If your work is product shots or documents, a faithful upscaler like Topaz Gigapixel will probably serve you better.
Keywords: Magnific AI, Magnific AI review, AI image upscaler, upscale AI images, Magnific AI pricing, Freepik Magnific, AI image enhancer, Midjourney upscaler
About the author
- hii everyone give me you stats